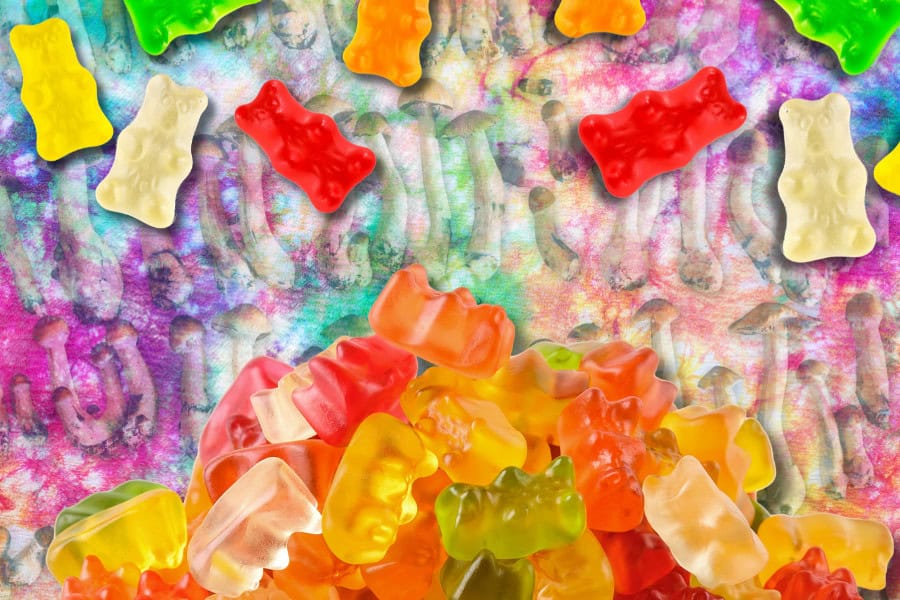
How to Make Magic Mushroom Gummies at Home

Mushroom gummies have become a popular edible format thanks to their taste, portability, and measured portions. Whether people are interested in functional mushrooms or curious about psilocybin-based edibles, gummies are often discussed as an approachable option. Rather than focusing on experimentation, it is helpful to understand how this format is typically made, stored, and used so expectations around consistency, safety, and shelf life remain realistic.
Why mushroom gummies are so popular
Mushroom gummies are valued for their convenience and stability compared to raw or brewed preparations. When properly formulated and stored, gummies can retain their quality for many months, making them easier to portion and transport.
Commercially prepared options, such as magic mushroom gummies, are often preferred because they are produced with controlled processes that support consistent texture and dosing. Homemade versions, while creative, typically require more careful storage and tend to have a shorter shelf life.
Understanding the basic gummy-making process
At a high level, mushroom gummies are made by infusing a liquid base with mushroom compounds and combining it with a gelling agent and sweetener. The mixture is gently heated, blended until smooth, then poured into molds to set.
The key variables in this process include temperature control, ingredient quality, and uniform mixing. Excessive heat or moisture can degrade sensitive compounds, while uneven blending can result in inconsistent portions.
Common ingredients and tools
Most gummy recipes rely on a small group of standard components. These typically include dried mushrooms or an extract, a liquid base, a plant-based or gelatin-derived gelling agent, and a sweetener. Flavoring and natural coloring are often added to improve taste and appearance.
Basic kitchen tools such as a saucepan, thermometer, strainer, and silicone molds are commonly used. Precision and cleanliness are emphasized to avoid spoilage and uneven results.
Setting, storage, and shelf life
Freshly made gummies are usually soft and sticky, which is why drying and proper storage are important. Allowing gummies to firm up and keeping them in a cool, dark, dry environment helps preserve texture and potency.
Homemade gummies often benefit from refrigeration or freezing, while professionally produced edibles are formulated to remain stable at room temperature. Labeling batches with preparation dates can help track freshness.
Choosing ready-made alternatives
For many people, purchasing professionally prepared edibles offers peace of mind. Those exploring options often start by browsing curated selections when they buy shroom edibles, as these products are designed for consistency and longer shelf life.
Ready-made formats reduce the need for kitchen equipment, temperature control, and trial-and-error experimentation.
Access and regional context
Interest in mushroom edibles continues to grow in urban wellness communities where discretion and reliability matter. In areas such as Toronto, Vancouver, and Mississauga, discussions often focus on sourcing, legality, and responsible use rather than home preparation.
Understanding local regulations and prioritizing harm-reduction practices remains essential regardless of format.
Safety considerations
Edible mushroom products are not suitable for everyone. Effects can be delayed and longer lasting compared to other methods, which makes patience and moderation especially important.
Individuals should avoid mixing edibles with alcohol or other substances and should be cautious if they have underlying health conditions or are unfamiliar with their personal tolerance.
Final thoughts
Mushroom gummies represent a blend of culinary technique and intentional formulation. While making them at home can be an educational exercise, many people prefer commercially prepared options for consistency and ease. Understanding how gummies are made, stored, and used helps set informed expectations and supports safer, more thoughtful decisions around edible mushroom products.
One thought on “How to Make Magic Mushroom Gummies at Home”
Comments are closed.